
Chiang Dao Cave: Thailand’s Hidden Underground Gem
If you’re searching for a complete Chiang Dao Cave travel guide, like Sara and I, you’ve probably noticed how overwhelming it can be. With confusing information everywhere about entrance fees, guides, and transport options, we know exactly how frustrating it is to figure out if you’re making the right plans.
Sara and I spent a full morning exploring this huge cave complex during our time in northern Thailand. We figured out how to get to Chiang Dao Cave from Chiang Mai, the best time to visit, the real entrance costs, and which cave sections require a guide—so you don’t have to.
Trust us—there are some things we wish we’d known before setting off from Chiang Mai!
In this complete guide to Chiang Dao Cave, Sara and I will break down the Chiang Dao Cave entrance fee, highlight the best tour options, and share our personal tips for each unique cave section. We’ll teach you everything you need to know to make this trip unforgettable.
No confusion, no surprises—just everything you need for an unforgettable Chiang Dao Cave adventure!
This post may contain affiliate links. Please read our Disclosure Policy.
What is Chiang Dao Cave?
Chiang Dao Cave (or Wat Tham Chiang Dao in Thai) isn’t just your average cave system. Tucked away in the foothills of Doi Luang Chiang Dao, Thailand’s third-highest mountain, it’s a distinctive mix of natural limestone caves and sacred Buddhist temple spaces.
When Sara and I adventured there with our friends, we discovered that the cave complex isn’t just one big cavern, but actually made up of five main sections. Each cave offers something different – from grand Buddha statues in well-lit chambers to ominous dark caverns that call for the use of paraffin lanterns to explore.
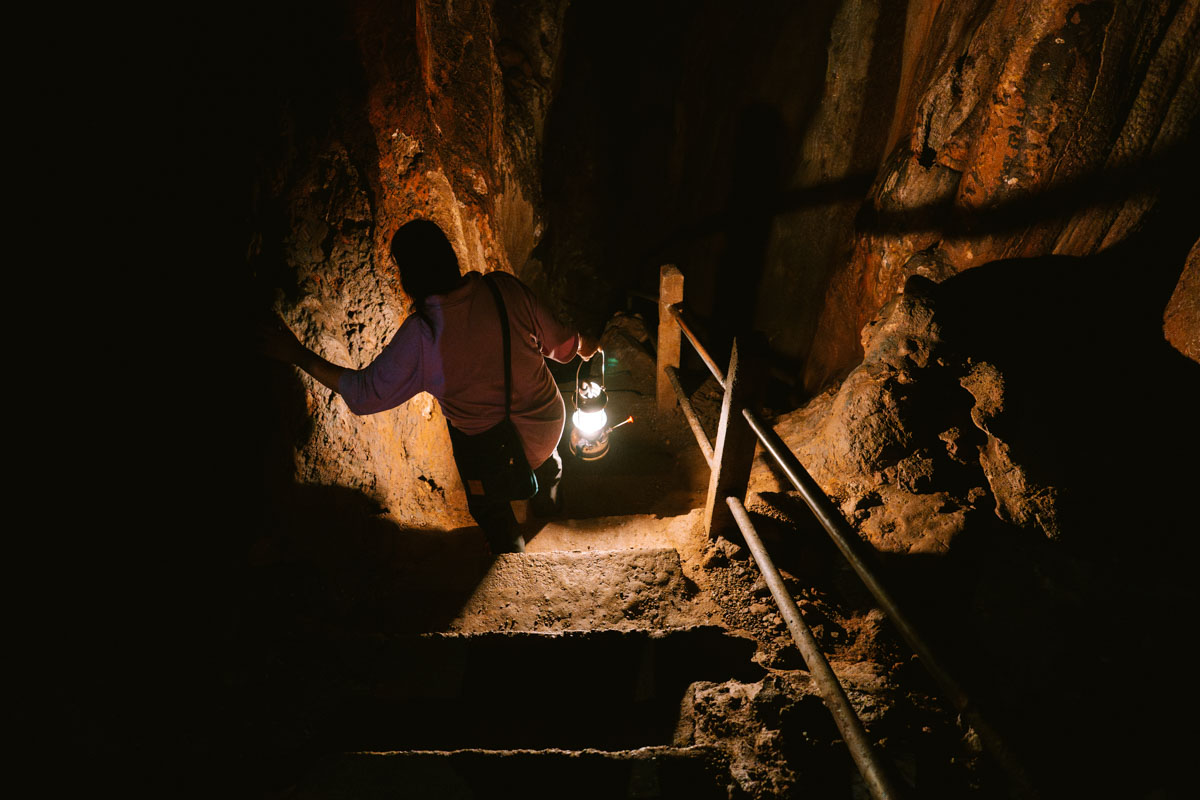
While walking around, we were taken back by all the huge stalagmites, stalactites, and columns that had formed over thousands of years. The sheer beauty of the cave complex kept shifting and changing as we moved from one cavern to another.
Like most caves in Thailand (or any Buddhist country), parts of the system have been converted into Buddhist temples, while other sections remain in their natural state. During our visit, it took us around two hours to zip around the entire complex, including the darker sections with one of the local guides (who, by the way, was absolutely hilarious).
Where is Chiang Dao Cave?
Chiang Dao Cave is only about an hour and a half north of Chiang Mai. We found it just a 10-minute drive from the small village of Chiang Dao.
The cave complex is super easy to find once you get close – just look out for the ornate temple entrance and the huge parking area. The day we visited, there was plenty of space to park, and it was free, or at least we think it is, because nobody asked us for money. We simply followed the signs through the temple that led us straight to the cave entrance.
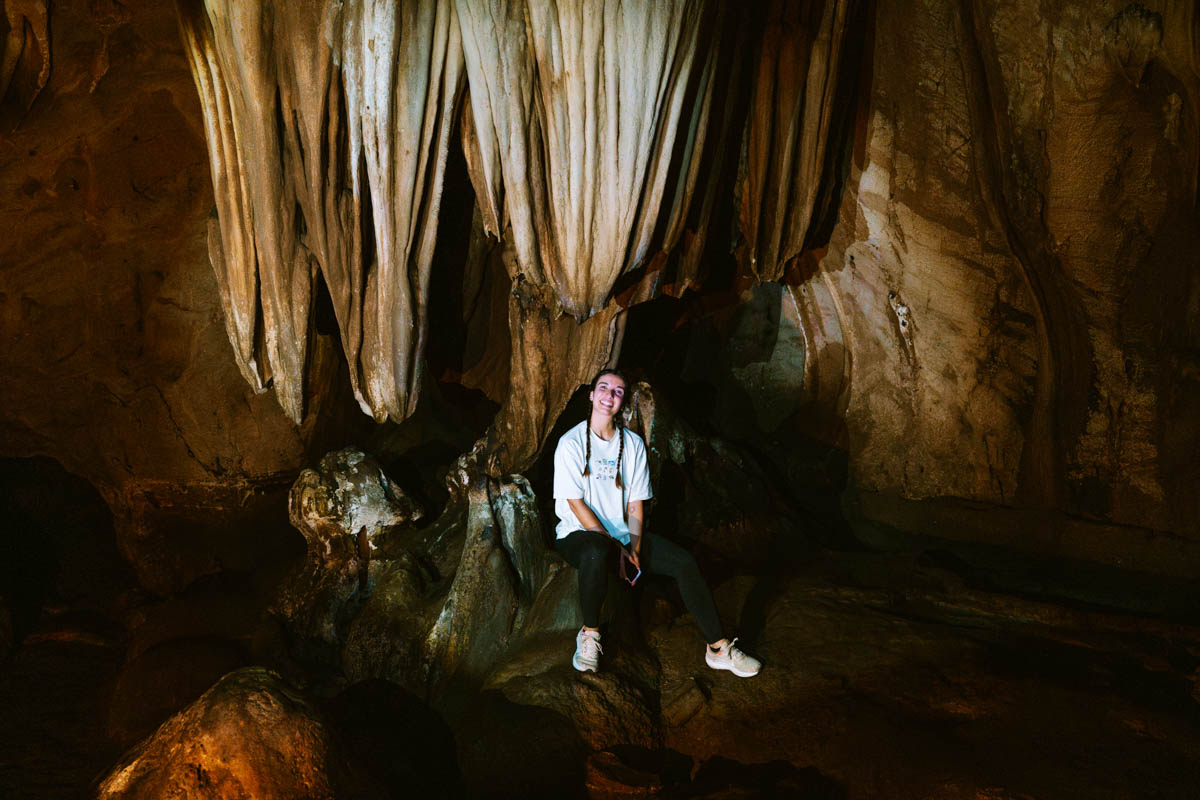
Just in case you’re interested in the geography of the area, it’s crazy, but there are supposedly over 100 caves that stretch for about 10-12 kilometres inside the mountain range. Although, only five are currently open to visitors – which is probably good, otherwise we would have probably gotten lost inside forever!
How to get to the Chiang Dao Cave
There are a few different ways to reach Chiang Dao Cave from Chiang Mai. I’ll walk you through the best three options!
Hire a scooter
Sara and I rode up with our group of friends on scooters (well, we actually hired a motorbike which was super fun), and it turned out to be a pretty straightforward journey. The route took just over an hour and a half, mainly following Highway 107 from Chiang Mai to Chiang Dao. Riding up, we loved having the flexibility to stop whenever we wanted – however, highway being highway, the drive isn’t that exciting.
The road is generally in good condition, though, and the route is easy to follow – from Chiang Mai, we just followed the highway signs to Chiang Dao. Once we hit Chiang Dao village, there were plenty of signs directing us to the cave.
Just keep an eye out for trucks and cars along the highway, they can drive a bit crazy sometimes!

Book a private driver
If you’re not comfortable on a scooter, hiring a private driver is a great option. You’ll probably end up paying between 800-1200 baht ($20-30) for half a day, or around 2000 baht ($50) for a full day. You’d still get tons of flexibility with your plans, plus there are the added perks of air conditioning and a local driver who knows the area like the back of his hand.
The cheapest place to hire a driver is probably through Grab. Using the app, you can click the option to rent a driver by the hour, or at a daily fee!
Join a tour
Tours are the easiest option but give you the least flexibility. Everything is planned for you – you just need to show up! They are usually cheaper than hiring a private driver if you’re travelling solo or as a couple, plus they often combine the cave visit with other thrilling attractions. An added bonus is that Sara and I usually meet the best people when we join a tour!
Things to know before visiting Chiang Dao Cave
Before you head off to explore Chiang Dao Cave, here are some key takeaways we learned during our visit that you should probably know about:
- It’s a sacred space, so dress appropriately – if you forget, we saw you can actually rent a scarf for 20 baht at the entrance
- You’ll get a bit dirty, especially in caves 2, 3, and 4, where we needed to scramble through small gaps
- It’s pretty dark inside most sections, so when we wanted to take photos, needed to use a flash
- A guide is mandatory to enter caves 2, 3, and 4 – and trust us, you’ll definitely want one as it’s pitch black inside!
- Yes, there are bats, insects, and spiders inside. Don’t worry though, they won’t hurt you… we’re walking proof!
- We left our backpacks in the first cave – it would have been awkward to carry them through the tighter sections
- We picked up said backpacks right at the end before exiting, as the cave tour is a loop
- The entire experience took about 1.5-2 hours to visit all the caves
- It can get slippery in some areas (our guide kept saying “slip… dead…” which was… comforting), so wear decent shoes


Chiang Dao Cave entrance fee
The cost of visiting Chiang Dao Cave is actually a bit convoluted, so let me break down exactly what we paid:
- First up, parking was free (at least we think it is)
- At the cave entrance, we paid 40 baht ($1.18) per person to enter
- Inside the first cave, things get interesting. We had to pay for a mandatory guide, which worked out at 100 baht ($2.95) to rent the lantern and 100 baht for the guide herself – but we split this between six of us, coming out at just under 40 baht each
- After exploring caves 2, 3, & 4, our guide asked for a tip. We each gave her 20 baht ($0.59) as she really did elevate the tour for us!

In total, we ended up paying 100 baht ($2.95) each for the entire experience. Just keep in mind that if you’re visiting with fewer people, you might end up paying a bit more since you’ll be splitting the guide and lantern costs between a smaller group.
Cave 1: Tham Phranon
Tham Phranon is the first cave we entered inside the complex. There was a sign that said it’s 360m long, though honestly it didn’t feel nearly that long when walking through. It’s a fairly modest-sized cave – basically a short walkway that opens up into a medium-sized cavern filled with Buddha statues and religious altars.
That’s because this first cave serves as the main shrine area of the complex. There are tons of Buddha images and sacred displays throughout, all illuminated with basic lighting to help visitors see. While we were exploring, I noticed a few locals stopping to pay their respects, which was a reminder that this is still very much an active place of worship.
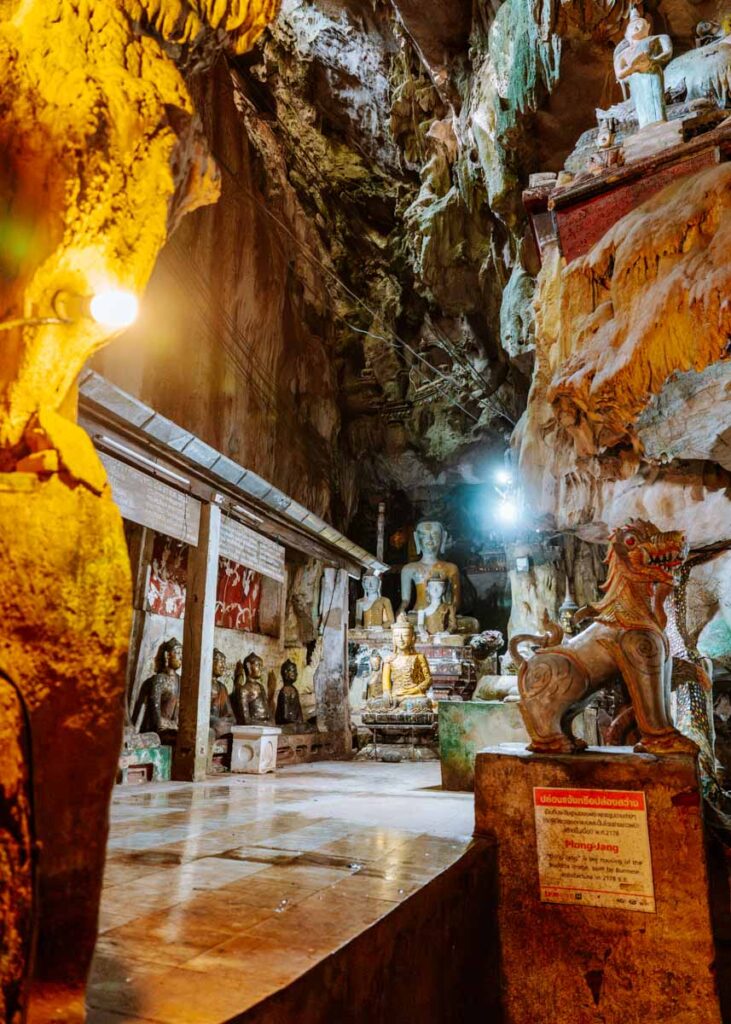

The limestone formations in this first cave weren’t as dramatic as in some other caves in this complex. However, the spiritual atmosphere more than made up for it. The combination of the natural cave setting with the religious artifacts created a really cool experience, as it does in most Buddhist cave sites.
It was in this cave that we had to pay for our guide before moving on. We also left our backpacks here since we were told they’d be awkward to carry through the tighter spots ahead.
Caves 2, 3 & 4: Tham Ma, Tham Kaew and Tham Naam
The first cave of the guided tour we entered was Tham Ma, which a sign at the entrance stated is 735m long. After heading up some stairs, our guide started pointing out different rocks and calling them names, like “turtle” or “fried egg.” What made this funny was that, 60% of the time, the rocks didn’t look anything close to what she claimed they did!
She also made sure to point out the bats roosting on the cave roof, and cave spiders crawling over the stalagmites. As we continued through into Tham Kaew and Tham Naam, there were a few areas that became quite tight. So tight, in fact, that we needed to climb through, so it was good that we wore clothes we didn’t mind getting a bit dirty.


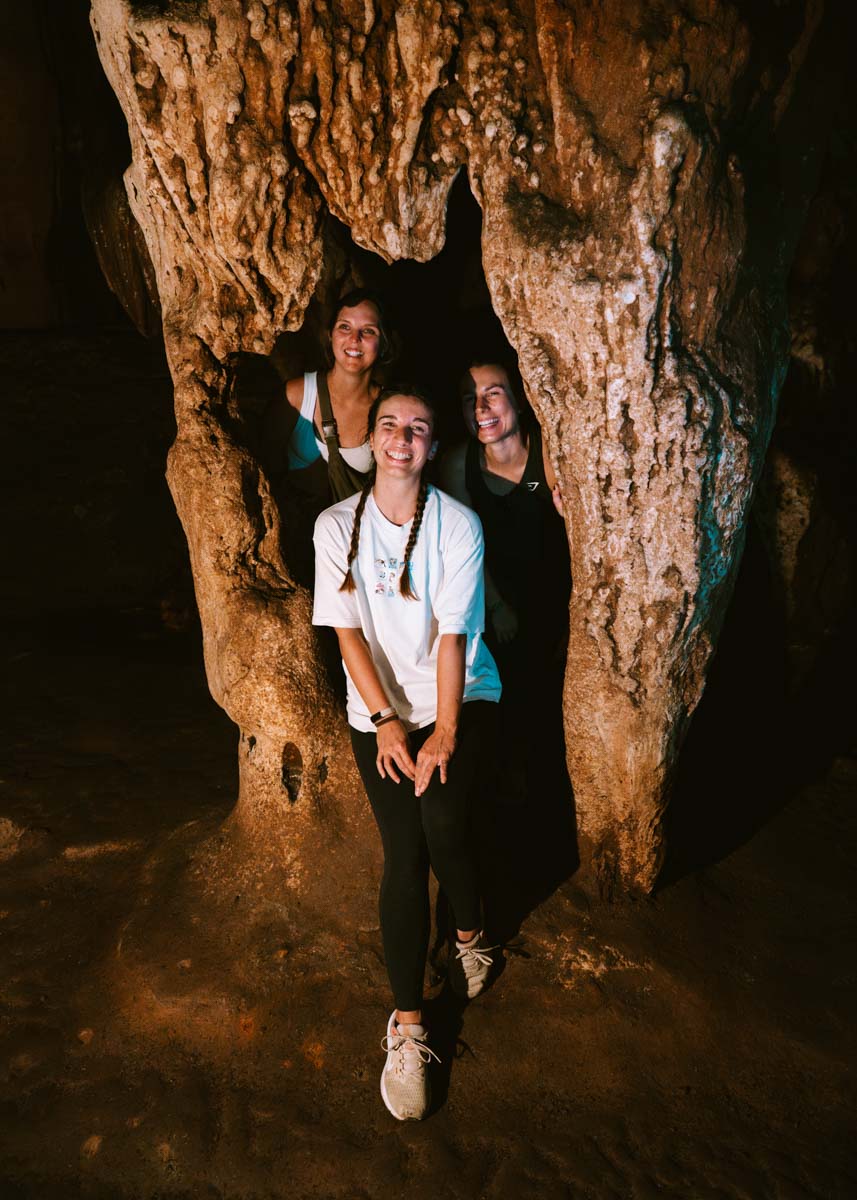
Our guide, having walked this route countless times, knew where all the prime picture spots were. She helped us snap a few group photos to remember the experience. She also warned us of some sketchy drops, at which point she suddenly knew the phrase “slip… dead…” – we couldn’t help but laugh at her “subtlety”!
While exploring the caves we spotted some Buddhist decorations at different points where people would come to pray. The entire guided tour took around an hour, or maybe slightly less but I wasn’t really timing it.
I just want to reiterate that without the guide, we would have struggled to see in the darkness, and we definitely would have got lost. The paraffin lanterns they carry were essential for adventuring deeper into the cave system.
A quick break in this article to talk about best global travel and health insurance for nomads and travellers!
By far the best insurance option we’ve found as full-time traveling nomads is SafetyWing. We’ve been with them for over three years now, and honestly, they’ve been a lifesaver.
Their customer support is some of the best we’ve ever experienced, we can renew from anywhere in the world (no residency required), and the payout process has always been smooth and hassle-free.
SafetyWing offers various insurance plans depending on how much coverage you think you’ll need:
Essential Insurance
- Emergency medical needs while travelling
- Travel protection (delayed planes, lost luggage, etc.)
- $250,000 limit
- 30 day coverage in your home country
Complete Insurance
- Emergency and ongoing medical needs while travelling
- Travel protection+
- $1,500,000 limit
- Ongoing coverage for new conditions
- Indefinite coverage in your home country
- Health & dental check-ups
- Maternity coverage
Cave 5: Jong Plaeng (Cave of the reclining Buddha)
At the end of the tour, our guide left us at the exit of Tham Naam. We continued onto the next cave—the Cave of the Reclining Buddha—which is 474m long according to the sign. This was an easy section to walk, with a paved pathway and railing on either side.
Halfway through we came across a huge Buddha statue, which was another great group photo op! Following the route past the statue, the paved path disappeared and became a natural walkway, but it was still easy to follow as it was linear with no joining paths.
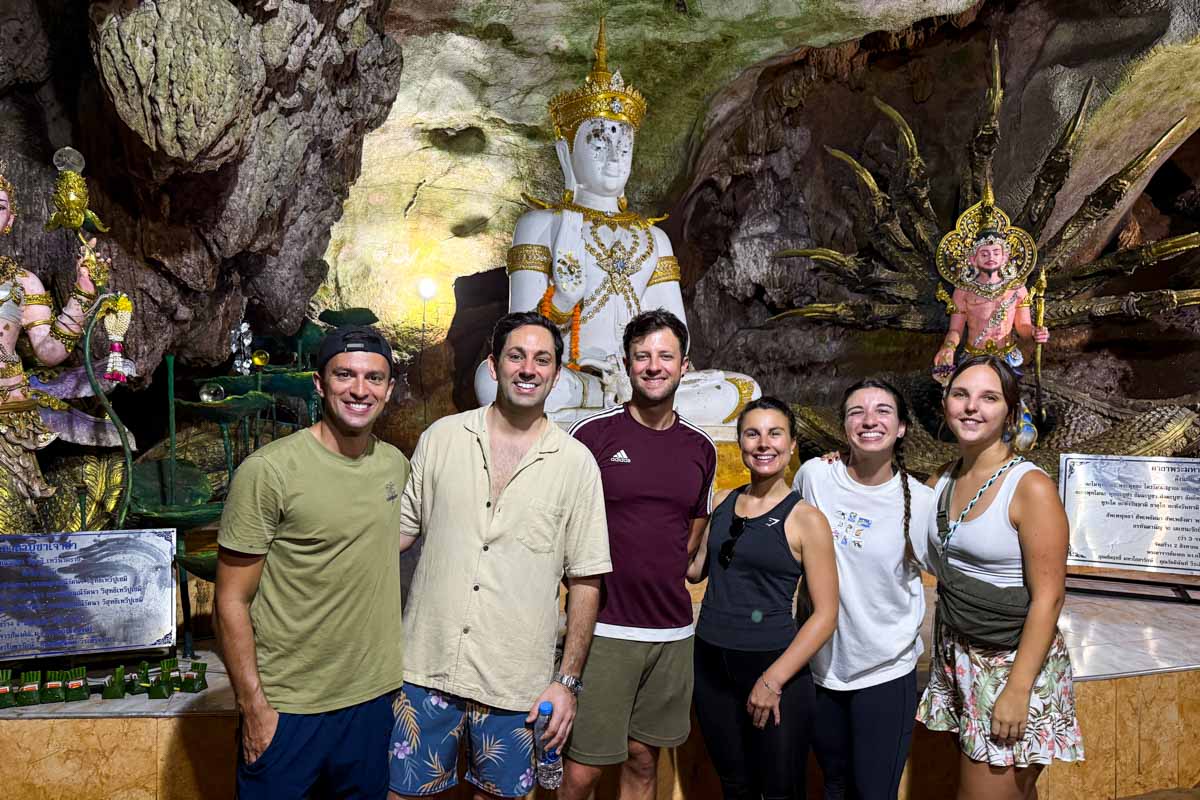
After about 10 minutes of walking we arrived at the end of the cave. Up a short set of steps was the reclining Buddha we were searching for. It was a statue of the Buddha that was about human size, and lying face up toward the ceiling. It wasn’t overly spectacular, but it was cool to see!


Other than this, there wasn’t much else to see in this cave. So we turned around and walked all the way back to Tham Phranon to pick up our backpacks. We then walked out of the cave system around 2 hours after entering it.
Where to eat in Chiang Dao
We actually struggled to find somewhere to eat in Chiang Dao at first. There were a couple of markets that we stopped at, but honestly, the food looked so-so. We were about to call it quits and head to 7-Eleven, but then we stumbled upon a restaurant with a spectacular view over rice terraces and the mountains.
It’s called Chiang Dao Walk Sky (don’t worry, it’s not actually a sky walk) and they had a huge menu of Thai food. Our meal totals came out to about 300 baht ($8.50) per person with a drink, and the food was about an 8/10. So we’d definitely recommend it if you make the trip out here!


Make a day trip from Chiang Mai
Chiang Dao caves only take a couple of hours to visit, so you can combine the trip with a couple of other spots along the route to make a full day out. It doesn’t matter if you stop at them on the way, or on the way back.
We actually attempted to visited both, although we had to rain check on the sticky waterfalls in the end as a storm rolled in as we arrived (we went back another time though).
Visit Bua Tong Sticky Waterfall
Bua Tong Sticky Waterfall is a natural wonder where we could actually walk up the waterfall! Overall, it took us about 20 minutes to climb from the bottom to the top. Thanks to the mineral deposits that create a rough, grippy surface, we could even climb it barefoot.
We thought the sticky waterfall was going to be a bit of a gimmick, but out of all our Thailand adventures, this ended up being one of the most memorable. Unlike normal waterfalls, where we would have slipped instantly, the unique calcium deposits make the surface feel like sandpaper. This meant that we could defy gravity… or something like that.

Inside the same complex, we also visited the sacred Chet Si natural spring. Locals believe it has special properties, and we saw people using long-handled cups to pour the spring water over their heads for good luck. Naturally, we had to do it too—we didn’t want to risk being cursed or something.
Visit Dantewada Artificial Waterfall
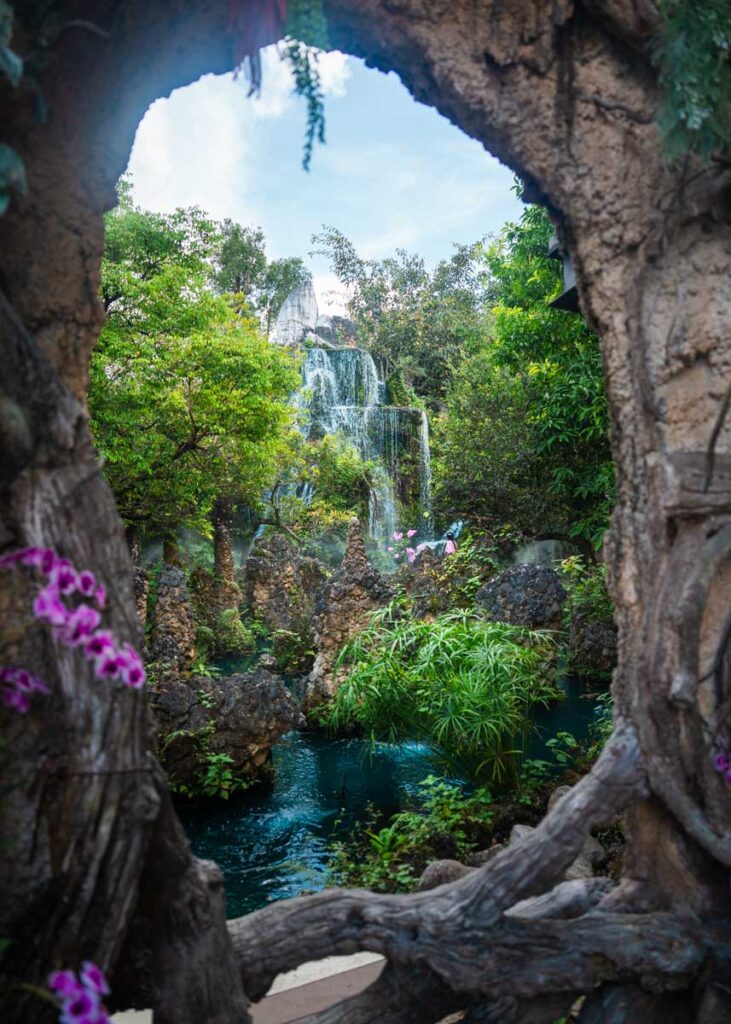
Dantewada Artificial Waterfall was so fascinating, and unlike anything we’d seen before. It’s a man-made waterfall, set in the Chiang Mai countryside, and is surprisingly beautiful. The ice-blue water and mist machines create a dreamy, almost alien-planet vibe.
After a long ride, we cooled off with a coconut (85 baht/$2.40) at the on-site restaurant. Coupled with the 80 baht ($2.30) entrance fee, the cost to visit was modest. Even with quite a lot of people visiting, the multiple areas kept it from feeling too packed.

Is Chiang Dao Cave worth visiting and what do do after?
After a thorough explanation of our experience visiting Chiang Dao Cave, we hope that you’re a little more prepared for what to expect than we were!
But if you’re still wondering if the cave is worth a visit, we completely think that it is. With a good group of friends, some old clothes, and an adventurous heart, we’re confident you’ll have an amazing time exploring the caves!

Beyond Chiang Dao, you should look into visiting Chiang Rai—it’s such a stunning cultural hotspot in northern Thailand! Or maybe you have a spare day to visit an ethical elephant sanctuary?
Or maybe you’re a remote worker in the area? Hop over to our other guides to discover the best coworking spaces and the best laptop-friendly cafés in Chiang Mai. If you’re looking at a long-term stay (or even not), find out if Chiang Mai is a safe city, where you should stay in the city, and what the pros and cons might be of living there.
Finally, if you’re a backpacker looking to extend your travels indefinitely, then you should 100% check out our free Digital Nomad Starter Pack! We can also help you find your community of like-minded people, too, with our free Digital Nomad Collective group.
Regardless, we hope you have an awesome time checking out Chiang Dao Cave, and the Chiang Mai area as a whole!
We hope that our guide covered everything you need to know about visiting Chiang Dao Caves. We always strive to offer the most accurate and up-to-date information we can but if you think something we’ve said is wrong, please let us know!
Read more about life in Chiang Mai:
- Complete guide to living as a digital nomad in Chiang Mai
- 22 Best coworking spaces in Chiang Mai
- 25 Laptop-friendly cafes to work in Chiang Mai
- 7 Best Chiang Mai coliving spaces to stay in as a digital nomad
- 8 Best areas to stay in Chiang Mai for tourists and nomads
- Is Chiang Mai safe in 2025? Everything you need to know!
- Chiang Mai vs. Chiang Rai: Which City Fits Your Style?
- Chiang Dao Cave: Thailand’s Hidden Underground Gem
- Climbing Bua Tong Sticky Waterfall: A day trip from Chiang Mai
- Chai Lai Orchid Ethical Elephant Sanctuary in Chiang Mai: A Must-Visit!
- Day Trip to Chiang Rai from Chiang Mai: Is It Really Worth It?
- Cost of Living in Chiang Mai: How much you really need in 2025!
- Best Time to Visit Chiang Mai? We Lived There for 3 Months – Here’s the Truth!


